Marketing
How to design a banner for your business in six easy steps

Designing a banner for your business is an important part of marketing. It helps to capture the attention of potential customers, as well as promotes brand awareness. A banner should be eye-catching, memorable and informative. Fortunately, creating a successful banner doesn’t need to be complicated. In this article, you will learn how to design a banner for your business in six easy steps that are both simple and effective.

Step 1: Research Your Brand
Before designing a banner for your business, it’s important to research and understand your brand. This means getting familiar with your company’s values, mission statement, target audience, and overall aesthetic. This information will help guide the design process and ensure that your banner accurately reflects your brand.
To begin researching your brand, gather any existing branding materials such as logos or color schemes. Take note of what works well and what could use improvement. Consider conducting market research to better understand your target audience’s preferences and behaviors.
Additionally, take a look at competitors’ banners to see how they are positioning themselves in the market. This will give you an idea of what works well in terms of design and messaging within your industry. By thoroughly researching your brand, you’ll be able to create a banner that accurately represents who you are as a business while standing out from the competition.

Step 2: Choose A Template
Choosing a banner template can be overwhelming with so many options available. However, it is crucial to choose a template that aligns with your business’s brand and message. The right template can significantly enhance the overall design of your banner, making it more visually appealing and memorable for potential customers.
When selecting a template, consider the size, layout, and color scheme that best fit your needs. Keep in mind that banners are often viewed from a distance, so having bold fonts and contrasting colors can help make your message stand out. Additionally, templates should have enough space to include all the necessary information while maintaining an uncluttered look.
Most importantly, ensure that the template you choose is customizable. This will allow you to add images or adjust text sizes without compromising its overall design. By choosing a flexible template that meets all of your requirements, you’ll be able to create an eye-catching banner for your business quickly and efficiently.
Step 3: Pick Colors & Fonts
Choosing the right colors and fonts is crucial when designing a banner for your business. It can make or break the overall aesthetics of your design. When it comes to choosing colors, go for shades that reflect your brand personality and evoke emotions you want to associate with your business. For instance, if you want to convey a sense of luxury, opt for gold or silver hues. If you’re going for something playful and vibrant, pick bright colors such as orange or yellow.
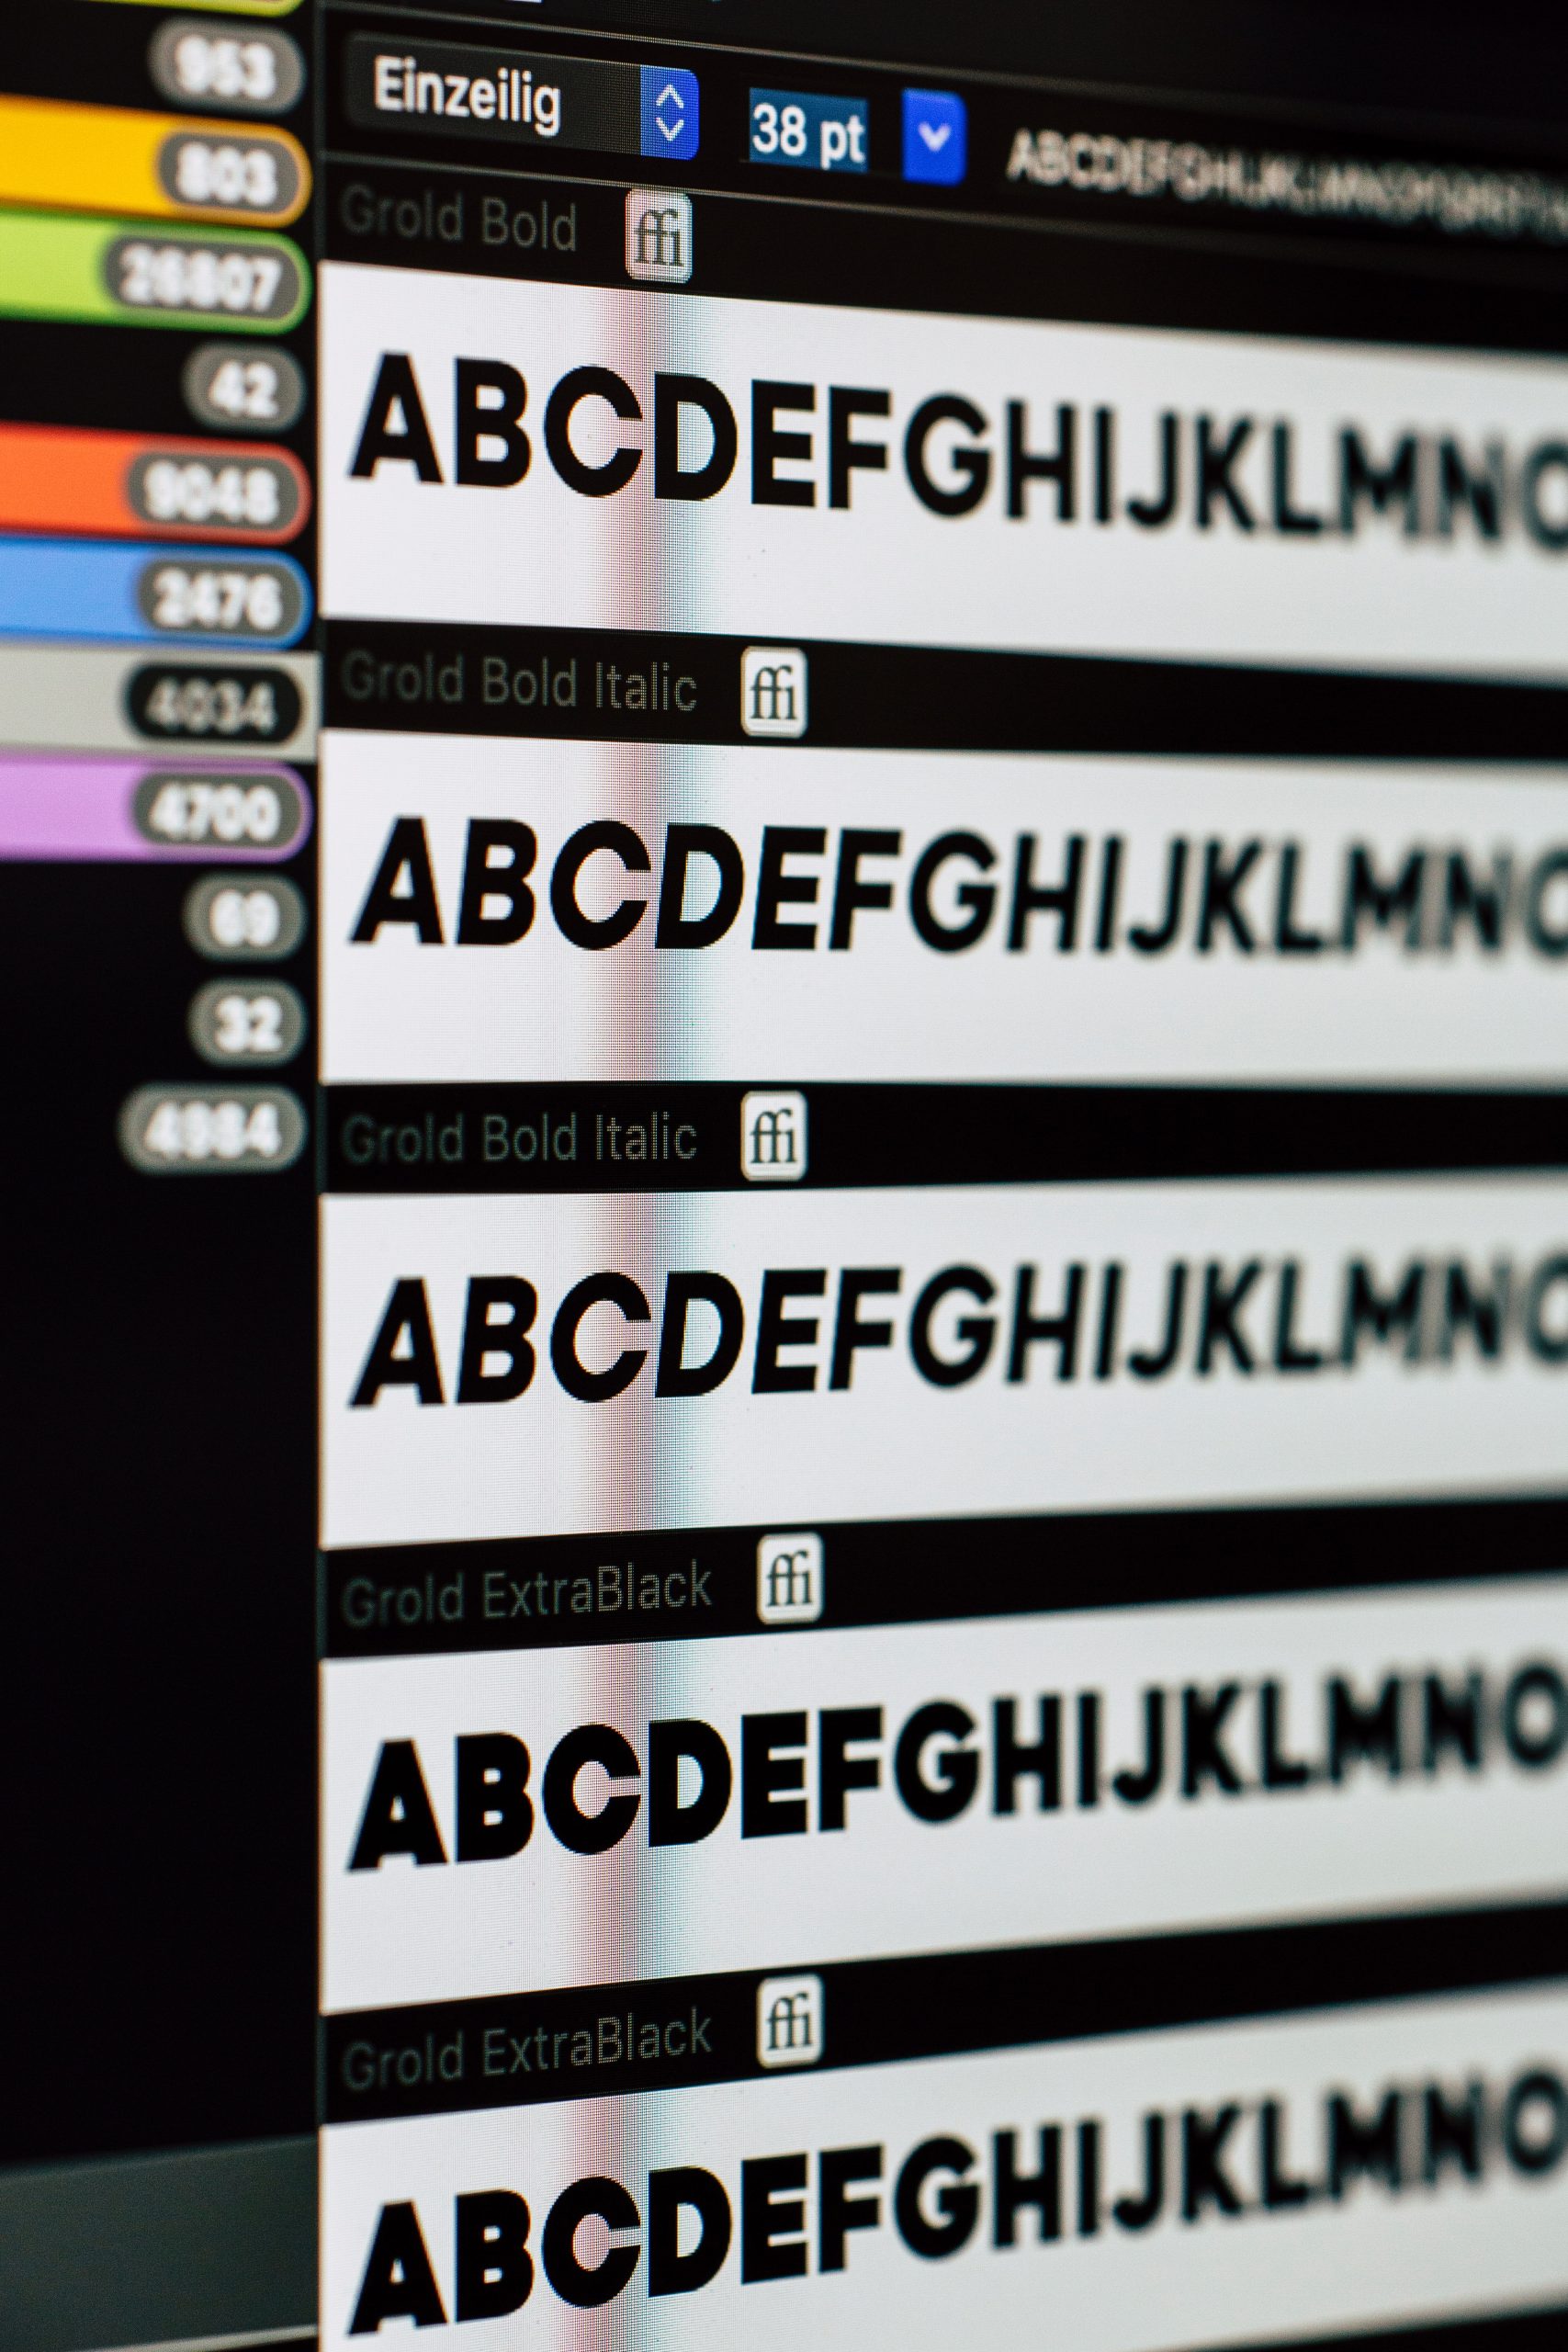
Next up are fonts- they play an equally important role in conveying the right message to your target audience. A common mistake that most people make while choosing fonts is going overboard with decorative ones that may be hard to read from afar. Instead, choose simple but impactful typography that complements your brand’s tone and style. Serif fonts like Times New Roman are perfect for traditional brands while modern companies can opt for sleek sans-serif styles like Helvetica.
In conclusion, picking the right colors and fonts can elevate the impact of a banner tremendously. By keeping it simple yet strategically aligned with your branding guidelines, you’ll create visually appealing banners that stand out in any setting.
Step 4: Add Visuals & Text
Now that you have chosen the right colors and fonts, it is time to add visuals and text. Visuals are a crucial element in banner design. They help to capture attention, convey emotions, and create a visual hierarchy. You can use images, illustrations or icons that are relevant to your business or message. Ensure that they are high-quality and do not pixelate when enlarged.
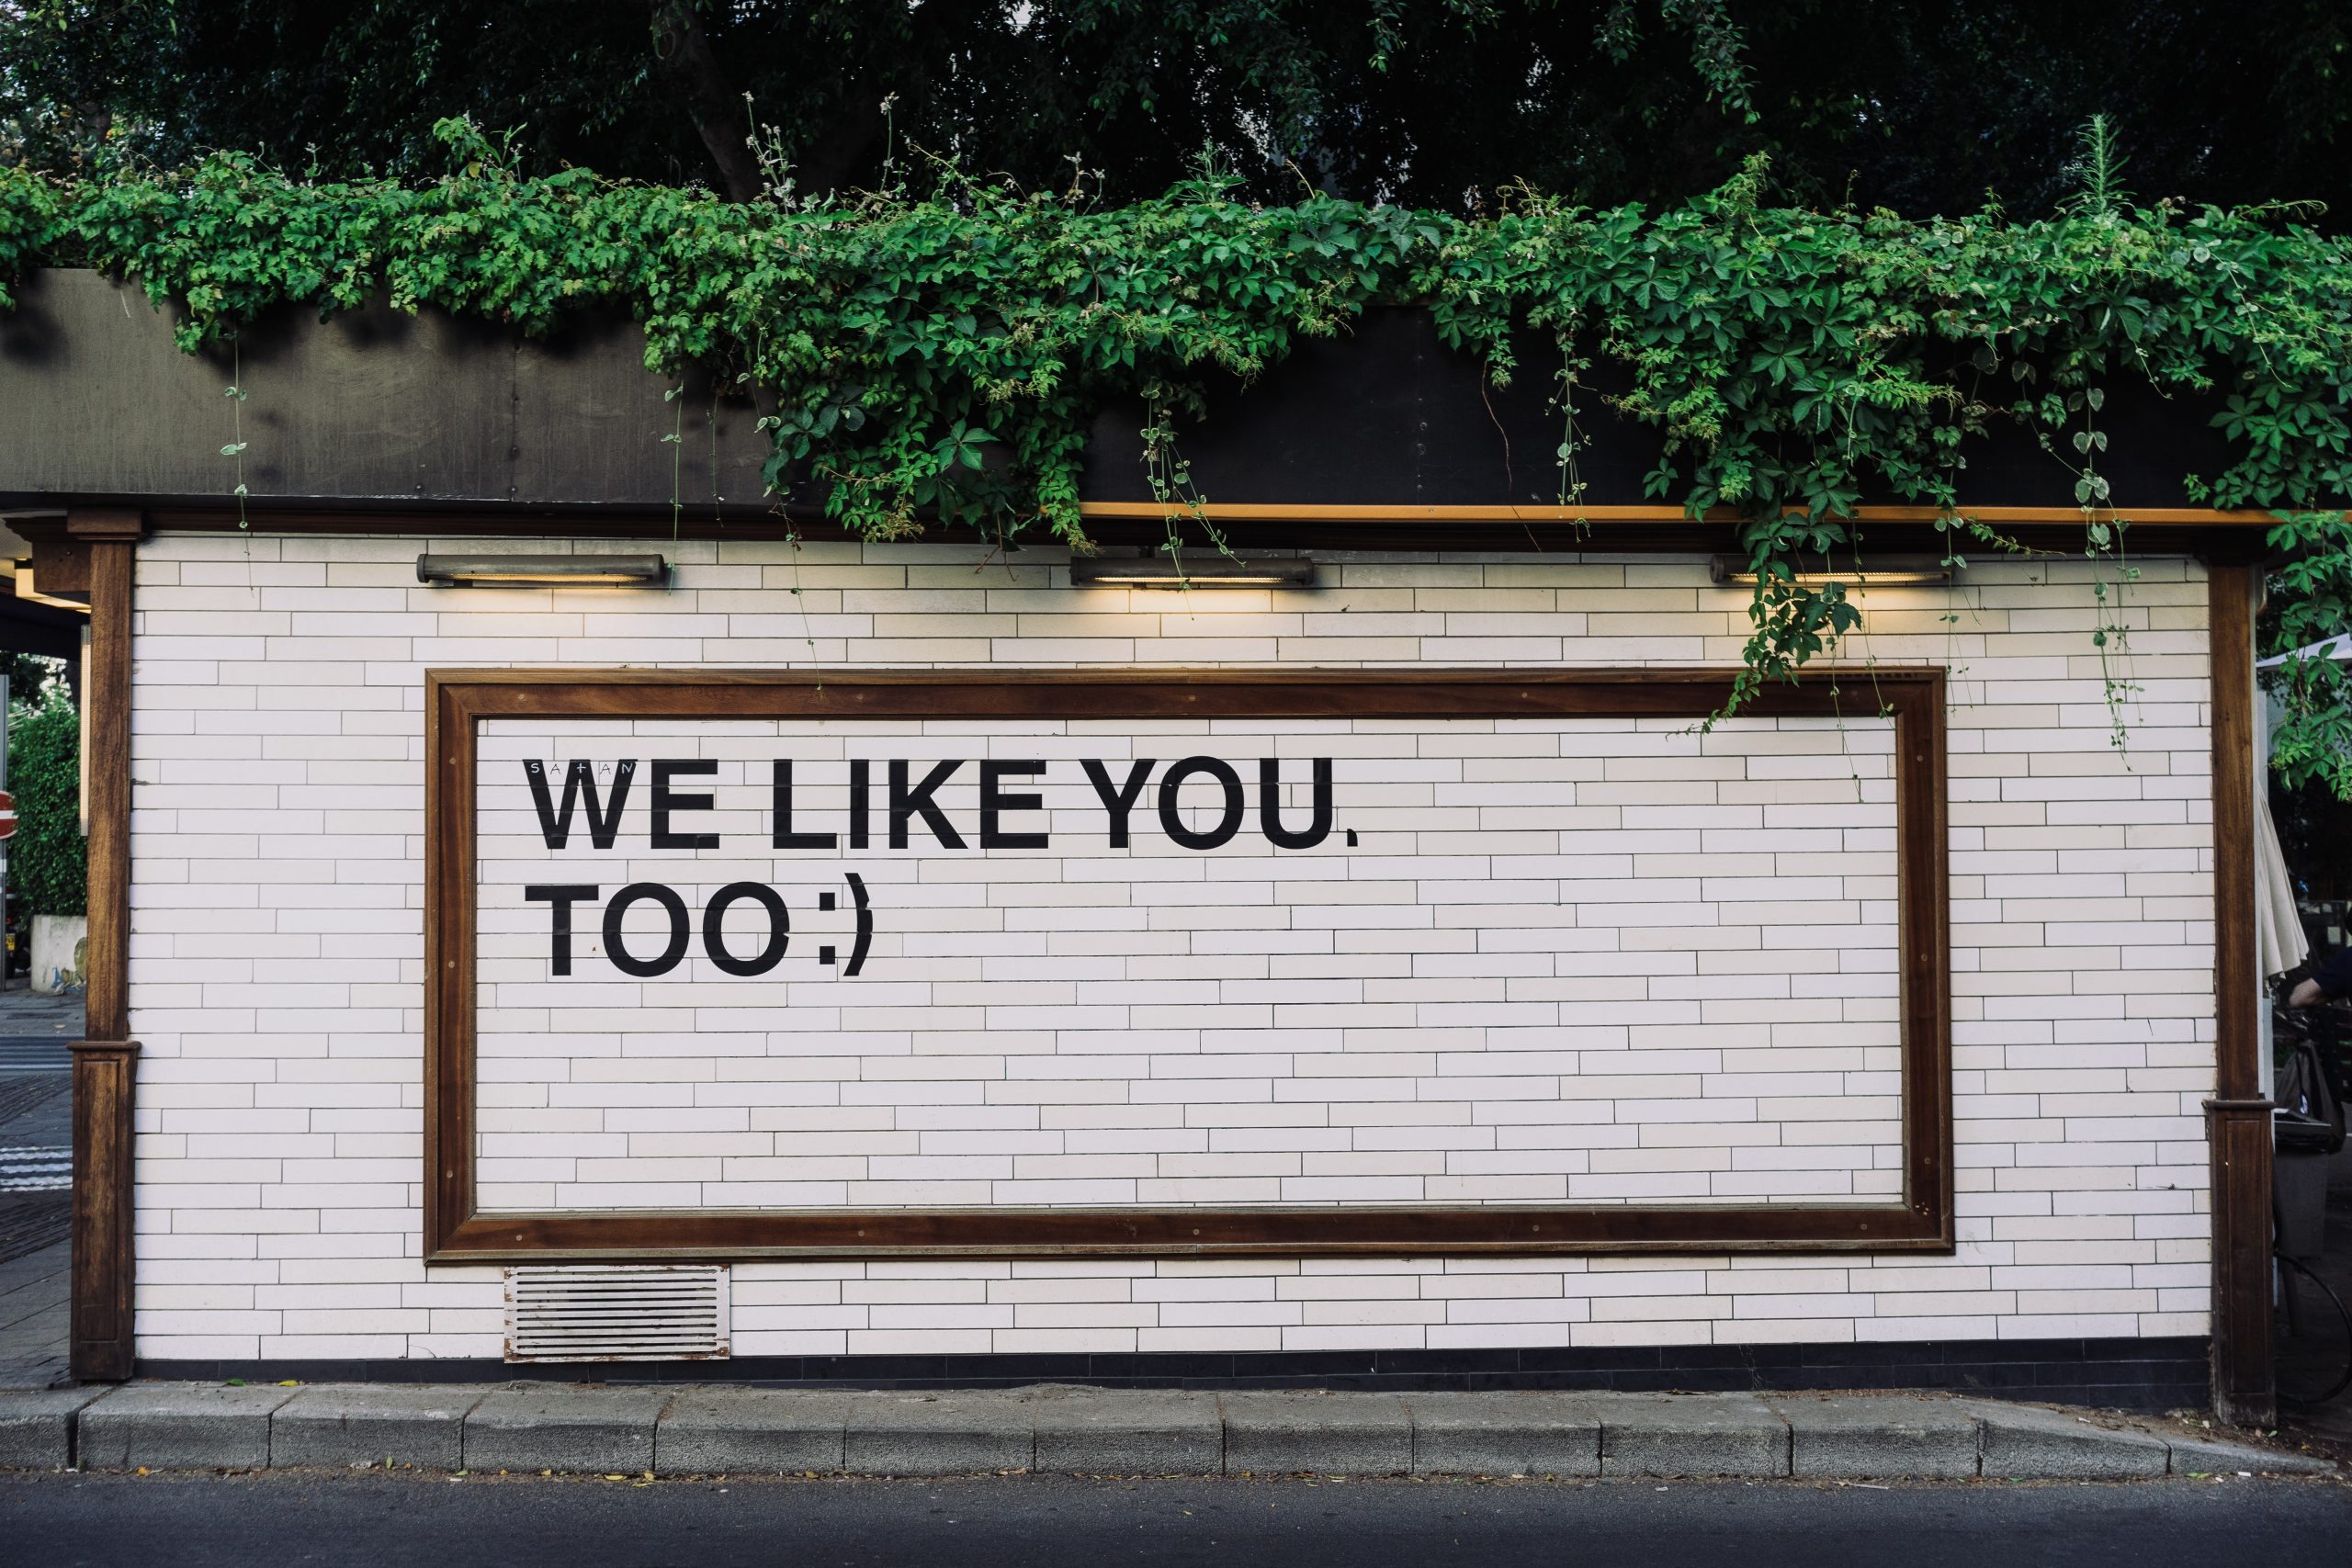
Incorporating text into your banner design is equally imperative. It helps to provide a clear message about your brand, product or service. To ensure readability, make sure the font size is large enough for people to read from a distance. Use short phrases or headlines that are catchy and memorable. Also, remember to use contrast between the background and text color; it will enhance legibility.
Lastly, arrange the elements in such a way that creates balance and harmony between the visuals and text. This will help guide viewers’ eyes around the banner seamlessly while creating an overall pleasing look for viewers of all ages and backgrounds alike!

Step 5: Test & Adjust
Once you’ve completed the design for your banner, it’s time to test and adjust. This step is crucial to ensure that your banner converts well and meets your business goals. The first thing you should do is test the banner on different devices and screen sizes to make sure it looks good and is easy to read. You can use free online tools like Responsinator or BrowserStack for this purpose.
Next, test the banner’s loading speed using a tool like Google PageSpeed Insights. A slow-loading banner can negatively impact user experience and affect conversion rates, so make sure it loads quickly. You may need to compress images or adjust the file size of your banner if it takes too long to load.
Finally, track the performance of your banner using analytics tools like Google Analytics or Adobe Analytics. Keep an eye on metrics such as click-through rate (CTR), conversion rate, and bounce rate. If you’re not happy with the results, don’t be afraid to make adjustments in terms of design or copy until you achieve better performance.
Step 6: Publish & Promote
Once you have completed the design of your banner, it’s time to publish and promote it. Make sure that the banner is in a format that is easy to upload on your website or social media pages. Once uploaded, double-check to make sure that everything looks perfect.
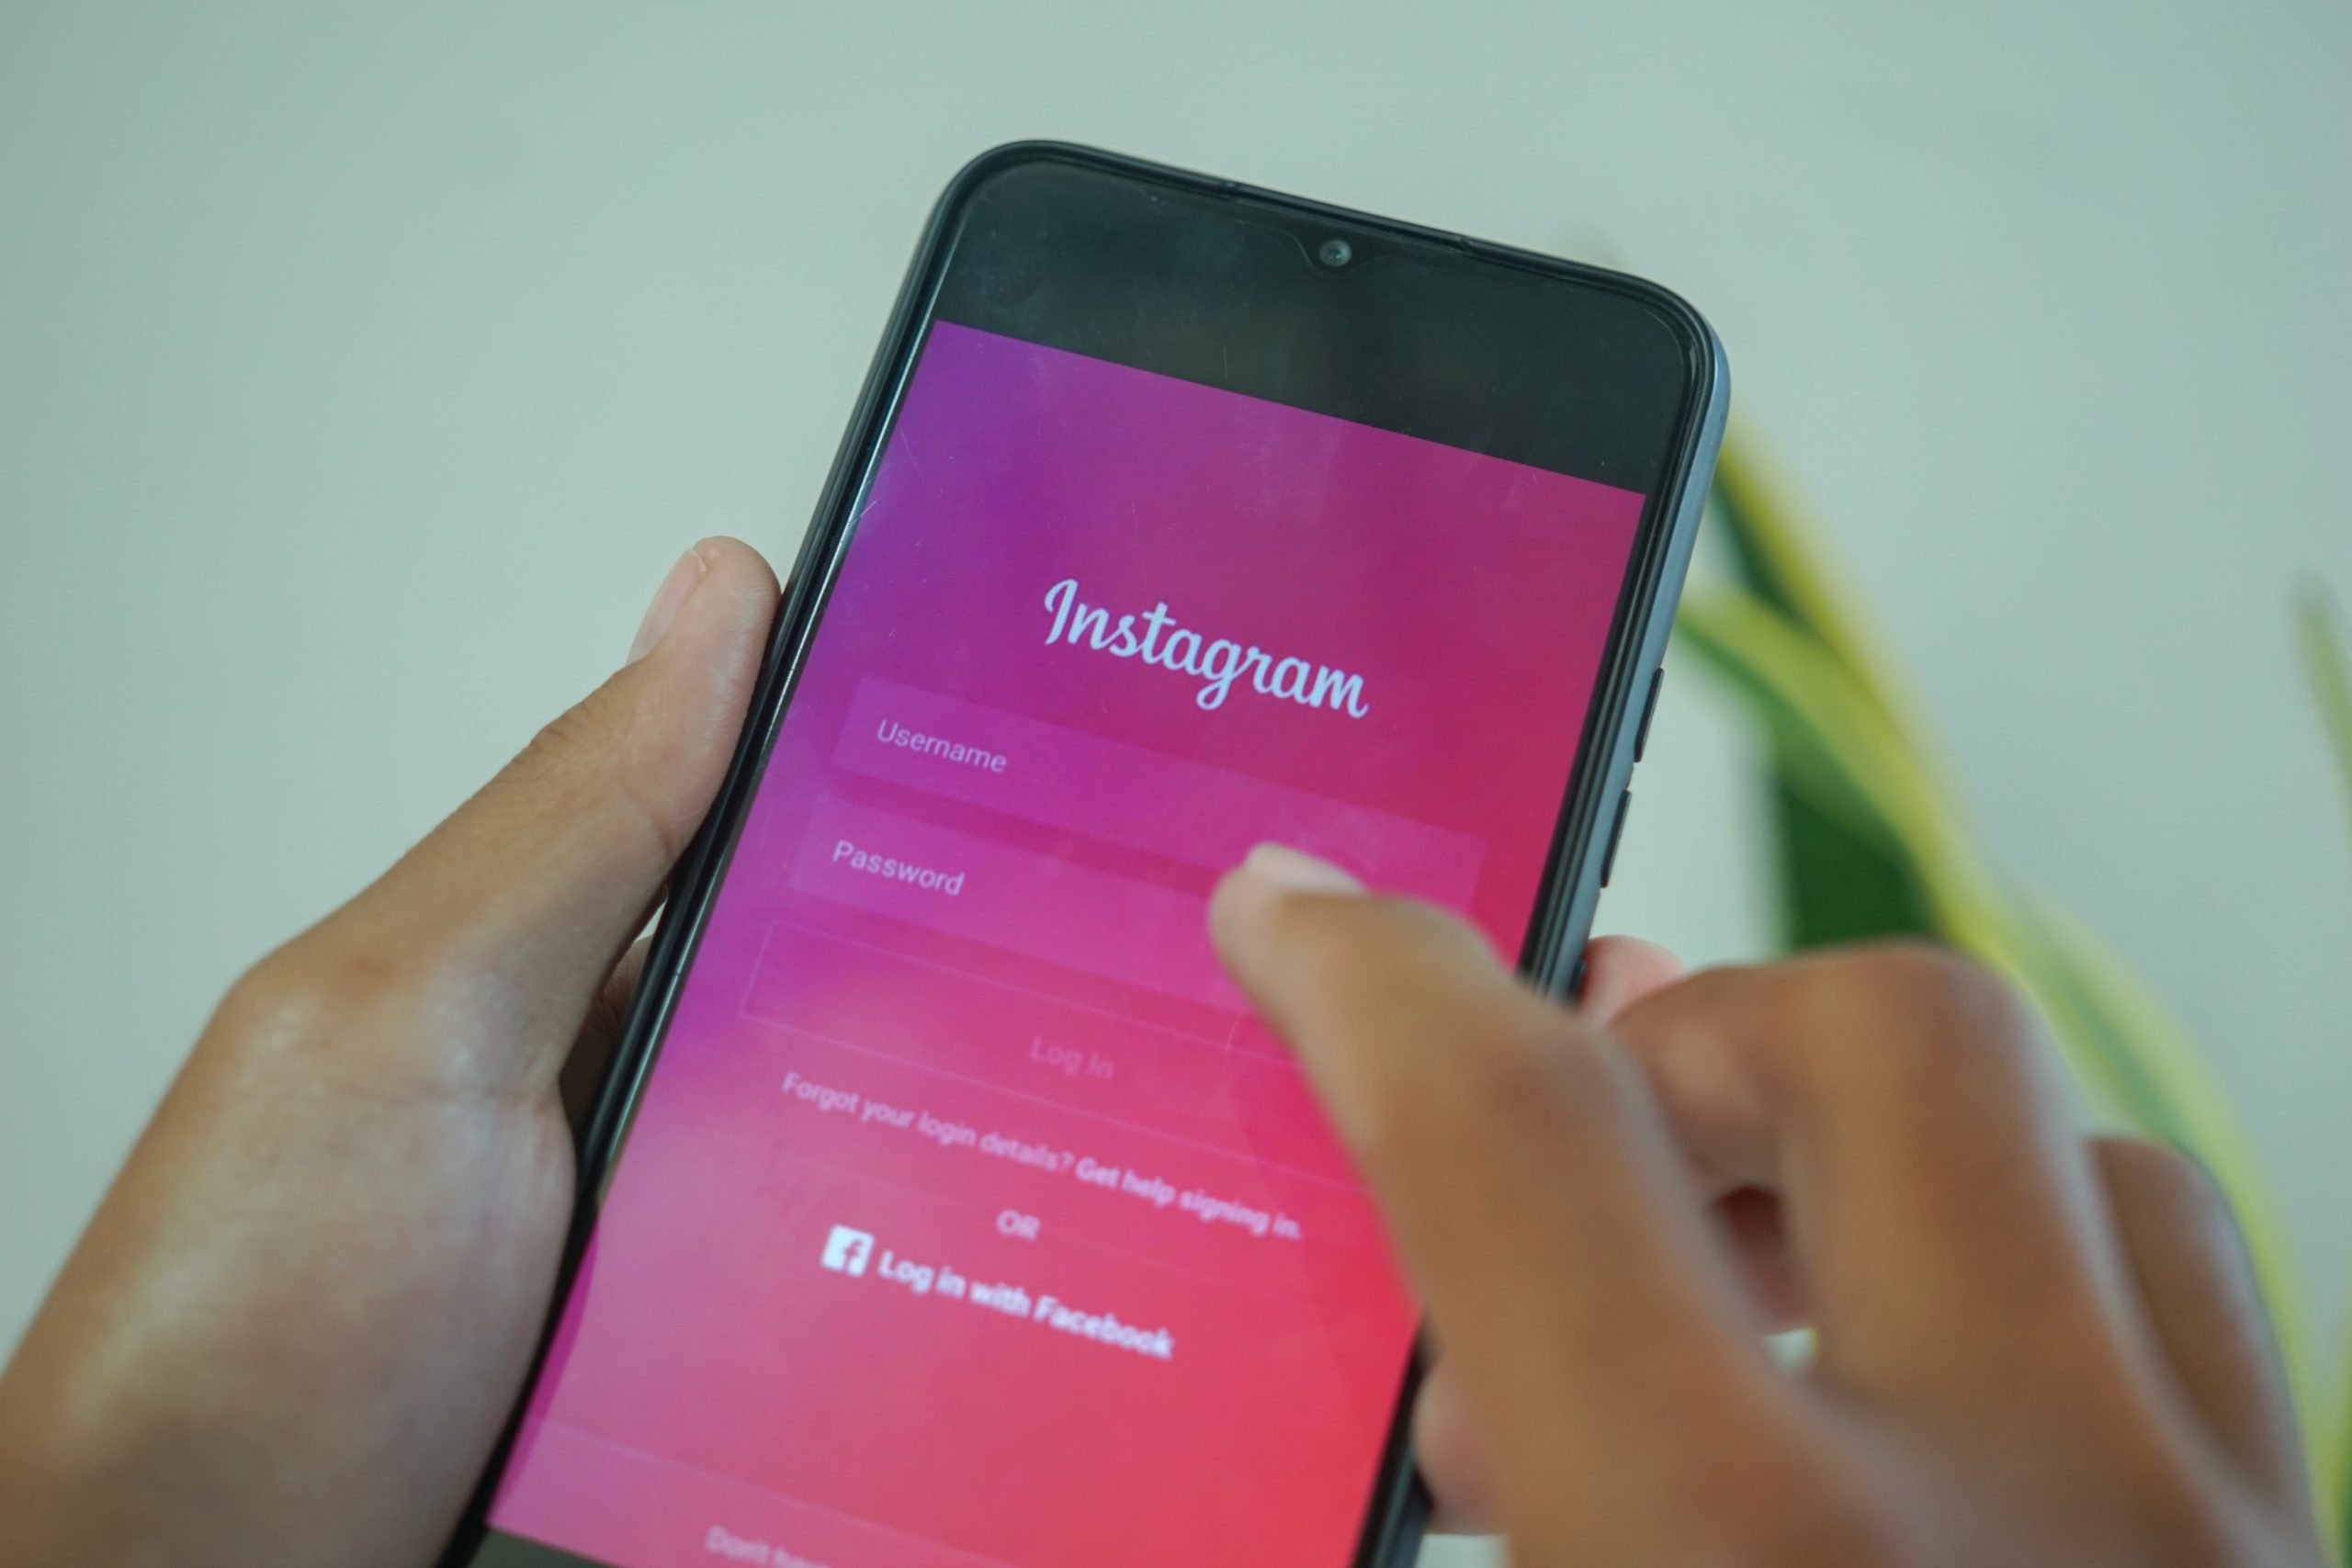
To promote your banner, start by sharing it on social media platforms like Facebook, Instagram, Twitter or LinkedIn. You can also use paid advertising options on these platforms to target specific audiences who might be interested in what you’re offering.
Another effective way to promote your banner is through email marketing campaigns. Use an eye-catching subject line and include a clear call-to-action (CTA) inviting readers to click through and view your banner. With these strategies in place, you’ll be able to maximize visibility and potential engagement with your new banner design!
Conclusion: Make Your Banner Shine
In conclusion, making your banner shine is crucial in attracting potential customers and promoting your business effectively. Remember to keep it simple yet eye-catching by using bold colors and a clear font. Avoid cluttering the banner with too much information, instead focus on the key message you want to convey.
Additionally, make sure that the design aligns with your brand image and reflects the nature of your business. If you’re offering a professional service for example, opt for a more formal design with clean lines and minimal graphics.
Lastly, don’t forget to test your banner before putting it out into the world. Get feedback from colleagues or friends to ensure that it communicates what you want it to effectively. By following these steps and making small tweaks as necessary, you’ll be well on your way to creating an effective banner that truly shines.